Twig + Tale toadstool village pattern hack

Let’s give it a go in English this time, since Twig + Tale is a New Zealand based pattern design company and their patterns are bought, sewn and hacked by enthusiastic sewists all over the world.

As part of the T+T inspiration team, the pattern of the toadstool village was gifted to me. In return, inspiration team members sew the pattern, sometimes hack it and photograph the results of their creative endeavours for T&T to use. So far I’ve sewn the pathfinder vest with animal add-ons (a wolf!), the dragon wings, two English oak leaves from the newly released euro leaf bundle. And most recently I put a lot of effort (and tons of hand stitching) into my hack of their toadstool village pattern.

After seeing the adorable toadstool by @Elsebesjes at O’s preschool, I figured I could not not live with a toadstool that was uninhabitable. So I decided to open it up, having an actual functioning fairy door in a hollow stem. I was equally excited to finally have found a use for the scrap of very thick felt that I had laying around for at least ten+ years now.

Basically, I used the T+T toadstool village pattern size Large to cut the fabric pieces, but after that, I ignored further sewing instructions and figured things out on the go. Here’s my go:

First of, go out for some inspiration:

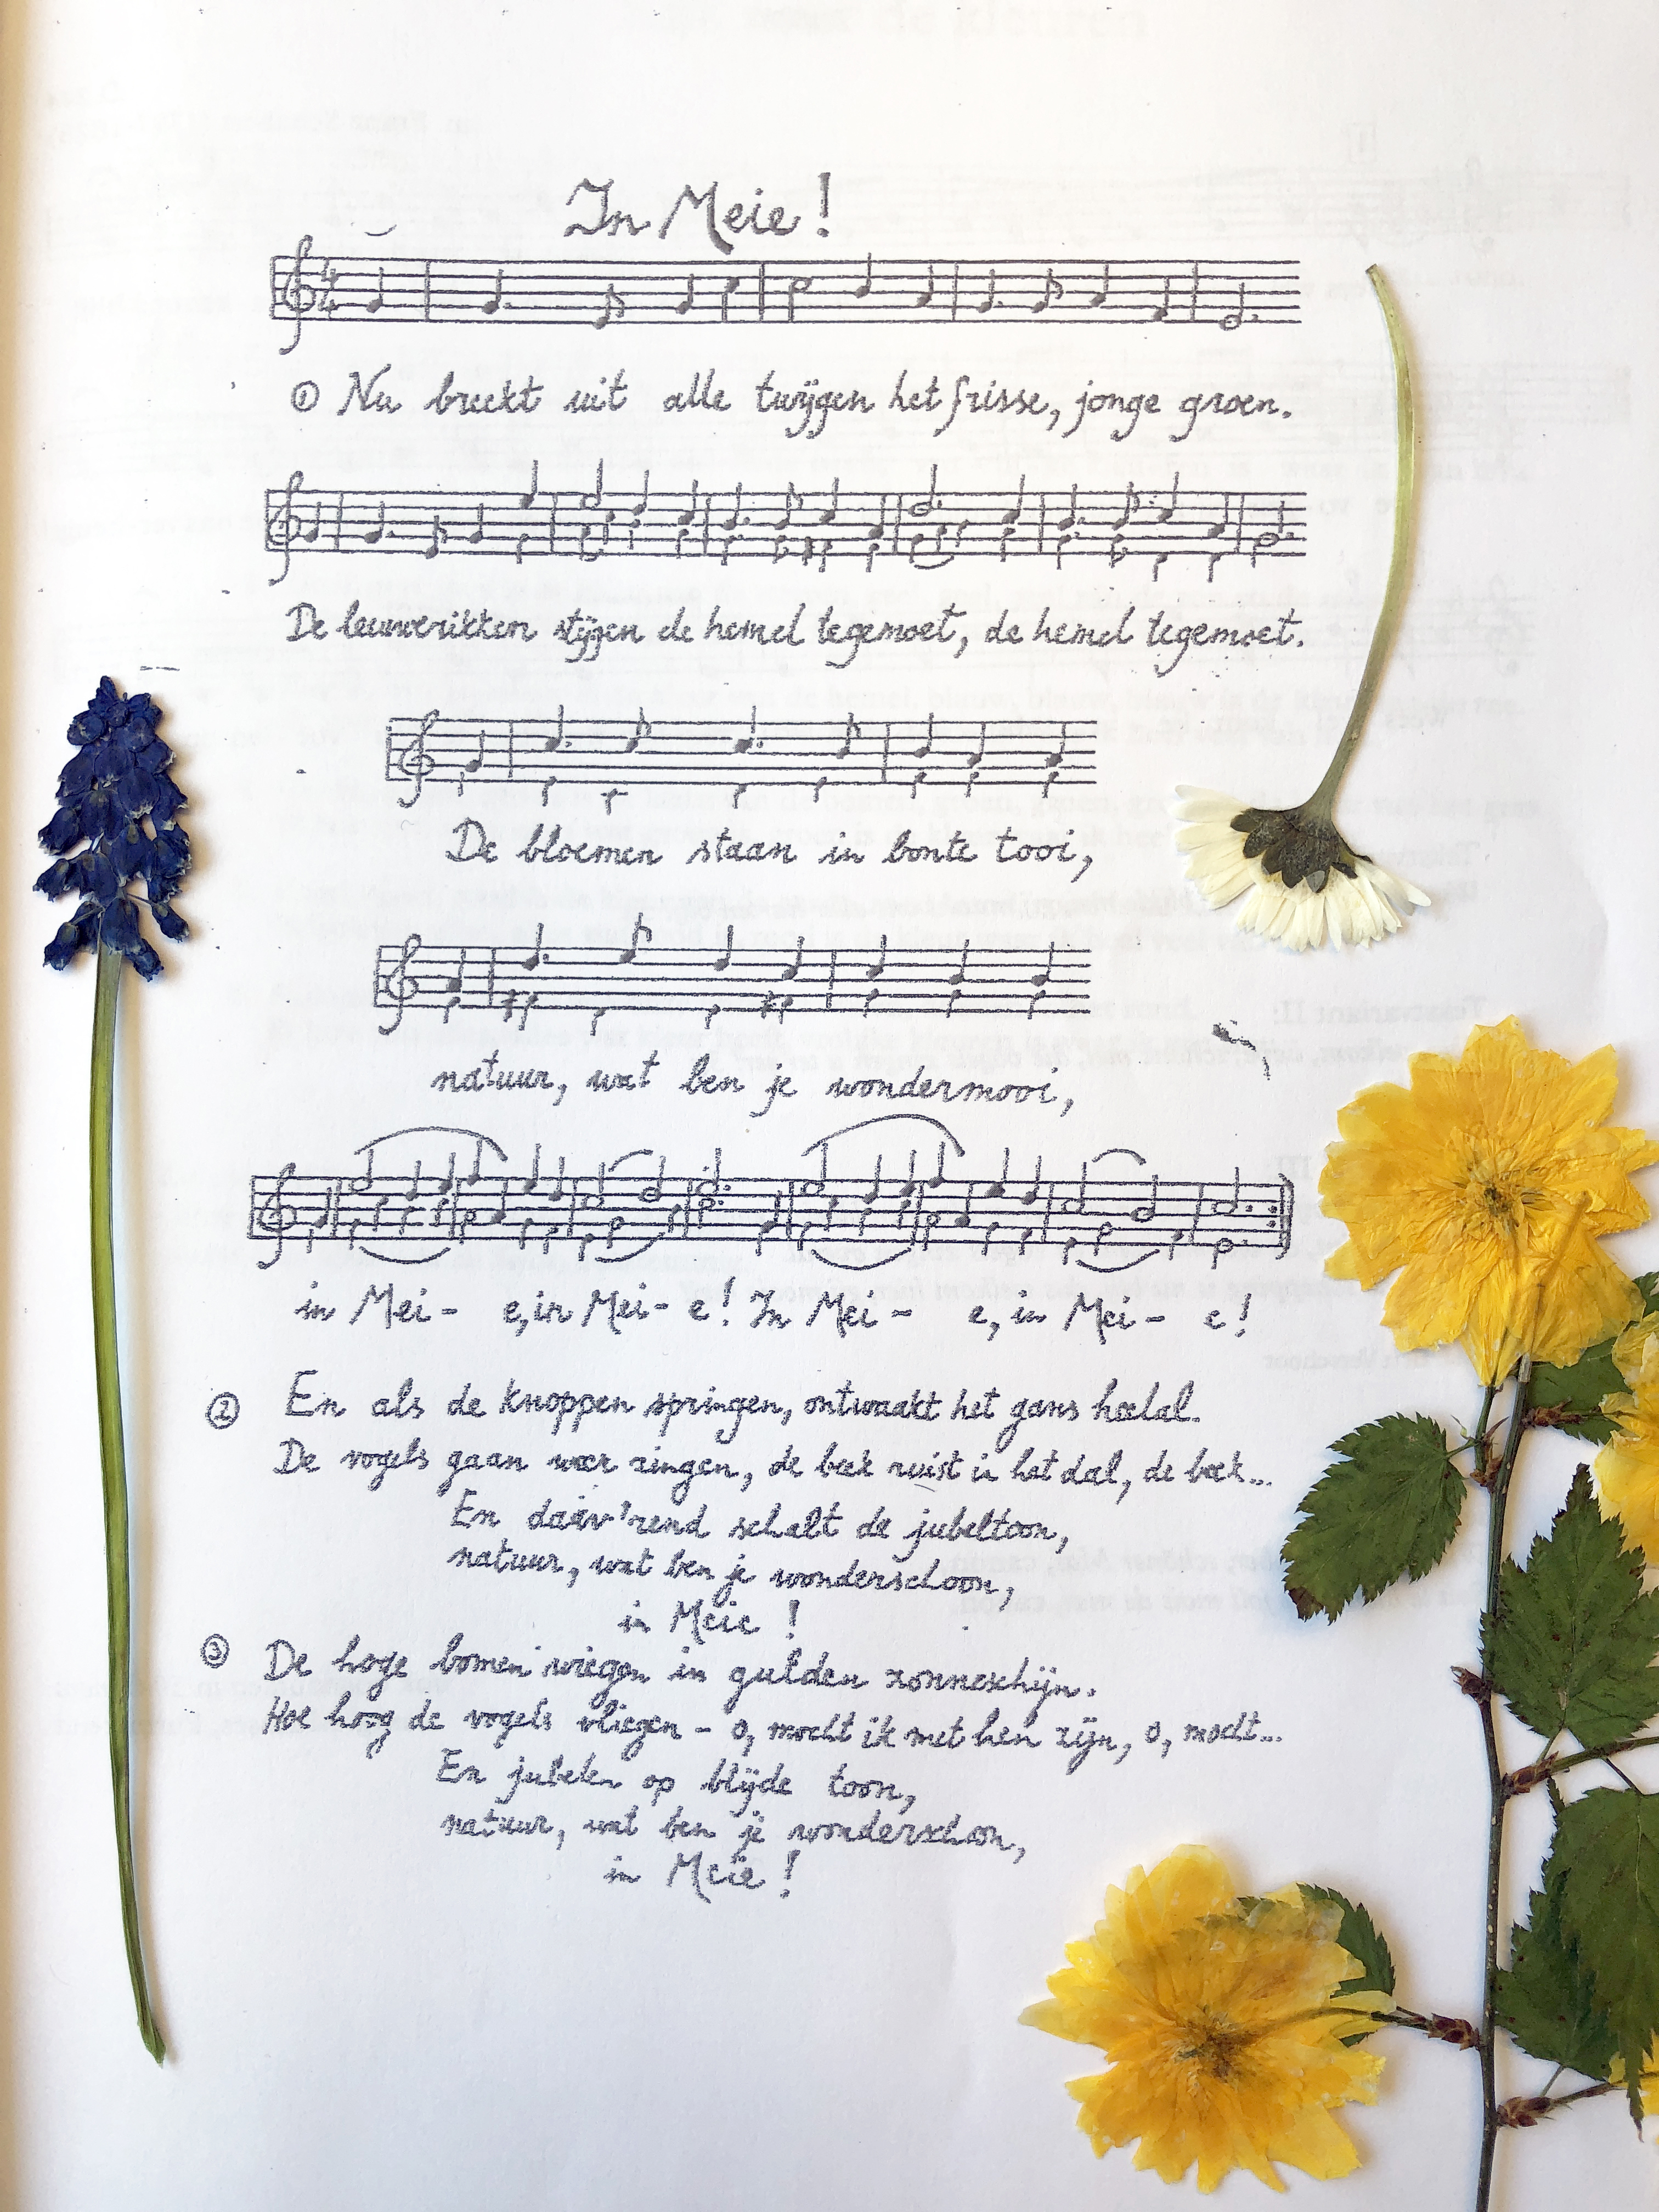
This Amanita muscaria (or fly agaric, ‘vliegenzwam’ in Dutch) served as my inspiration for the colours and the organic shape of the cap.

Second, cut the pattern pieces according to the Twig and Tale pattern for the toadstool village size Large. And added:

  1. a toadstool ring from the same thick creamy felt, a little longer then the length of the top of the stem (since it has to wrap around the stem). 
  2. an extra base (sort of like the flooring of the interior) that is a little bit smaller in circumference then the bottom (outer) base. The difference in size is approximately the thickness of the felt you use for the stem, which wraps around the inner base and onto the outer base.
  3. you don’t need to, of course, but I wanted the gills to be a little more defined. So I cut a layer of batting for the downside of the cap (1 cm smaller in circumference). 

I used a scrap of an orange felted lambswool sweater from the thrift store (the rest I previously used to make a vest for the kids from), and needle felted from the centre outward with bright red (and burgundy) felt wool. Then I added some lighter shades of wool (yellow, peach and off-white) towards the margin (edge) of the cap. Then I embroidered the scales (dots) using french knots.

I attached the top of the cap to the bottom, using a ladder stitch. Stuffed it with wool only to find out that I ended up with some extra fabric on the top part…. I figured I would turn this ‘mistake’ into a dormer window. I cut a piece of the thick felt in the shape I want for the dormer, appliquéd some windows on it and sewed it in.

Then on to the base of the toadstool. Since I wanted it to firmly stand up, also when played with, I needed something heavy on the bottom that would not add too much volume as I wanted the shroom to be inhabitable. Since our kids no longer put their toys in their mouths, I decided it was ok to use a scrap of lead. I made sure they would never be able to touch it with their hands as it would be completely covered and hidden between the thick felt base plates, so I cut it in a circle shape just a little bit smaller than the smallest base plate and I sewed it in between base plates.

Make sure to cut out windows and the door and decorate the stem while it is laying flat in front of you (so much easier!). I’ve used a blanket stitch around all exposed edges of the stem, including the inside of the windows and the door. Instead of embroidering, I used fairytale felt for appliqué details to the stem.

After I decorated all I wanted (or basically all I could think of at that time), I decided it was time to join the 2 sides of the stem, turning it into a hollow tube. Unfortunately I can’t find any pictures of this step (below you’ll find some up close pictures of the finished product to show the seam at the back of the stem). Subsequently I attached the base plate to the stem.

Now it is time to measure the length needed of the ring and sew the ring onto the cap. So the cap can function as a lid. And then your toadstool can start looking for some sweet tiny inhabitants!

C and O received the toadstool including 2 small wooden Ostheimer animals as a gift (to share) from Sinterklaas.

Time to play play play!

Week 21 – de week in beeld

De week van veel lol, veel werk en weinig slaap want; louter gebroken nachten. De week van de herontdekking van schmink, de Meimarkt op school, van veeeeeeel brood bakken (recept volgt asap!) en wederom ‘zomaar’ met de allerliefste pakjes verrast worden.

Én de week waarin ik erachter kwam dat ik Continue reading

Week 20 – de week in beeld

Week 20 – Omdat ik Instagram en Facebook steeds meer als mini-blog ben gaan gebruiken hier een visuele recap van de afgelopen week. Benieuwd naar de verhalen bij de foto’s? Of juist hoe O’s kamer eruit zag voordat ik hem had opgeruimd? Check dan mijn posts op Instagram en Facebook. En natuurlijk de fullsize jaarfeest post over Pinksteren hier op mijn blog met achtergrondinformatie over het Pinksterfeest en ideeën voor de seizoenstafel.

Coming up: Pinksterfeest

Waldorfmom.com bestaat inmiddels maar liefst 1 heel jaar! Dat betekent dan ook dat ik jullie een korte recap kan geven van de Pinksterfeest blogpost die ik vorig jaar schreef… inclusief Continue reading

Palmpaasstok maken // how-to

“Palmpasen Palmpasen, versier je groene tak, met linten en met eieren, de klokken bimbam beieren, die eieren smaken goed; versier je nieuwe hoed!
Palmpasen Palmpasen, versier je groene tak, met linten en met ruikertjes, met chocola en suikertjes, kom mee we gaan op pad, wij trekken door de stad.
Palmpasen, Palmpasen versier je groene hoed, dan slepen wij de takken aan en steken wij de vuren aan en dansen hand in hand; ‘t wordt Paasfeest in ‘t land!”

Hoe dan? Tja, daar moest ik ook even heel diep voor in mijn geheugen (lees: fotoarchief van afgelopen jaar🙈) graven. Omdat O (bijna 3) nog niet Continue reading

Paasprint – free printable

Met de Palmpasenviering aanstaande vrijdag op school, vieren de eieren ‘hoogtei’ (allerfoutste woordgrap ooit=10 punten ;-)) bij ons thuis. Nu kwam ik een week of 2 geleden via Pinterest deze toffe print tegen op de site van Pictureboxblue.com (en nog vele andere vintage afbeeldingen van flora en fauna (!) #happydance). Je kunt ze op Claires site gratis downloaden als PDF bestand door op de titel van de betreffende afbeelding te klikken. Dat heb ik natuurlijk meteen gedaan! Bergen inspiratie en in het geval van de eieren een puike print voor op de jaartafel. Wil je de eieren-poster van Adolphe Millot ook downloaden en printen, ga dan naar: https://www.pictureboxblue.com/natural-history-posters-adolphe-millot/

En als je dan toch bezig bent, check ook even Claires verzameling vintage illustraties van Paashazen en mooie konijnen: https://www.pictureboxblue.com/easter-bunny-pictures/

Of deze vintage paaskaarten, en te vouwen doosjes (!): https://www.pictureboxblue.com/vintage-easter-postcards-boxes/

Mocht je je net als ik afvragen: hoe kan dat nou met copyright en gratis downloaden?! Zoals Claire zelf op haar site zegt: “The vintage images on the site are from either my own extensive collection or have been sourced from libraries. They are in the public domain . Which means that the copyright has expired and thus they are free to use as you like. I have often enhanced and digitally tidied up the original scans and I’m happy for you to download and use the images as you please. You can not share them on your own website without linking back to Pictureboxblue.com.”

Bedankt Claire, delen = lief! 🙏🏻💛

Hieperdepiep C 5 jaar // trakteren

Tijd; zo sjokken de minuten tergend traag voorbij wanneer ik bij O zit te wachten tot hij in slaap is gevallen, om vervolgens -als ik vanuit de zitzak naast zijn bed achter mijn laptop in mijn werkkamer kruip om nog wat te werken ‘s avonds (het leven van een zzp-er ;-)) – de uren voorbij te zien sjezen! Tijdens mijn fietsrit vanmorgen van school naar huis realiseerde ik me dat ik Continue reading

De 12 Heilige Nachten, beter laat dan nooit ;-)

De eerste 4 van de twaalf Heilige Nachten zitten er alweer op. 2 van de 4 avonden maakte ik braaf mijn huiswerk. De andere twee probeer ik nu tussendoor bij te werken.
– Wat is dat dan voor huiswerk en wat zijn dat voor nachten? – hoorde ik Continue reading

Waldorfmom Kerstliedjes playlist op Spotify >> de directe link

Omdat het helemaal niet wilde lukken met een directe link op mijn Instagram, hier even een korte (re)post met daarin de werkende directe link. Continue reading

Sinterklaas en de cadeautjessoep die December heet

Ik ben gek op het Sinterklaasfeest én ik wórd er gek van. En dan bedoel ik niet alle oproer in het land, ik meng met niet in pietendiscussies, ieder mag daar zijn mening over hebben, ik vind dat het een feest moet zijn voor alle kinderen ongeacht hun Continue reading